
Charm Pack Pillow: The Stitch Show Episode 2
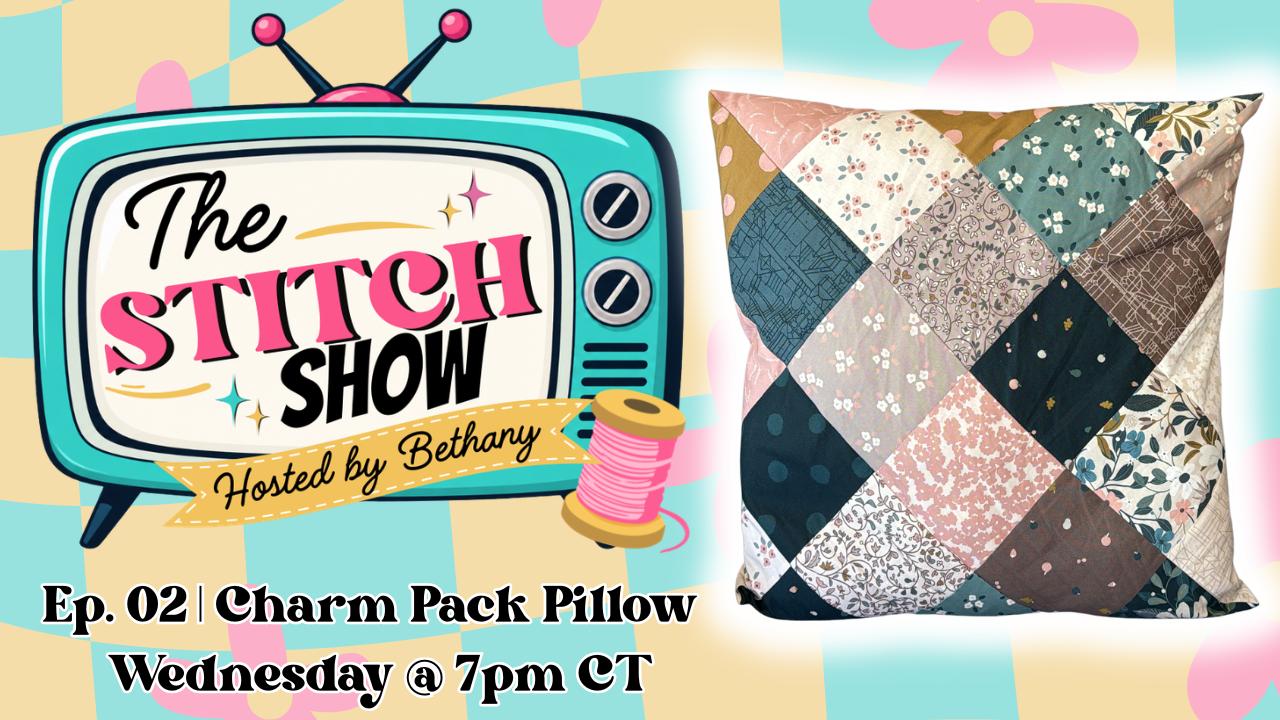
I’m back with another fun sewing project for The Stitch Show, and this week we’re making a Charm Pack Pillow!
This project uses 36 precut 5" charm squares to create an 18" pillow with a really fun construction technique. It looks like a simple patchwork pillow at first, but the way we fold and sew the final opening creates the points on the front of the pillow.
It’s a great project for using a charm pack you’ve been saving, and because the squares are arranged randomly, you don’t have to spend a lot of time figuring out the perfect fabric placement.
Watch The Stitch Show: Episode 2
I’ll be demonstrating this project live on Wednesday, October 7 at 7 PM CT during Episode 2 of The Stitch Show.
This is one of those projects that is much easier to understand when you can see the folding and sewing technique in action, so I definitely recommend watching the video if you’re making one along with me.
WATCH THE STITCH SHOW – EPISODE 2
Charm Pack Pillow Supplies
To make one 18" pillow, you’ll need:
1 charm pack, or 36 individual 5" fabric squares
Sewing machine
Thread
1/4" presser foot
Iron
Pins or clips
Hand-sewing needle
Point turner
18" pillow form or polyfill
I recommend using an 18" pillow form. You can absolutely stuff the pillow with polyfill instead, but you’ll need quite a bit of stuffing to get a nice, full pillow.
How to Make the Charm Pack Pillow
1. Arrange your charm squares
Choose 36 5" charm squares and arrange them into a 6 x 6 grid.
I recommend arranging the fabrics randomly rather than trying to plan out an exact design. Because of the way this pillow is constructed and turned, the final arrangement won't look exactly the way you might expect from the original layout.
Once you're happy with the general arrangement, sew the squares together with a 1/4" seam allowance.
Sew the blocks into rows first, then sew the rows together to create your 6 x 6 patchwork panel.
2. Press your seams
Press the seams open.
This will help keep the patchwork panel nice and flat and will make the next steps easier.
At this point, your panel should measure approximately 25" square.
3. Fold and sew the pillow
Fold the patchwork panel in half with the right sides together.
Sew the two short ends together, leaving the long edge open.
You aren't making a traditional tube here. The opening will be used to create the unique shape of the pillow, so make sure you're following along with the folding technique in the video.
4. Create the points
This is the fun part!
Find the center of the long open edge on both sides of the pillow. Separate those center points so that the seams from the short ends come together in the middle.
This creates the points on the front and back of the pillow.
Sew from each center point toward the middle, but don't sew all the way across. Leave an opening large enough to insert your 18" pillow form.
This is definitely the step where watching the video is helpful. Once you see how the fabric is folded and where the seams meet, it makes much more sense than trying to explain it with words!
5. Turn the pillow right side out
Carefully turn the pillow right side out through the opening.
Use a point turner to gently push out the corners and seams, then give the pillow a good press.
Take your time with this step. Pressing everything well will make a big difference in how crisp the finished pillow looks.
6. Add your pillow form
Insert an 18" pillow form into the pillow.
If you're using polyfill instead, stuff the pillow until it has the fullness you want.
Once the pillow is stuffed, hand sew the opening closed.
And that's it! Your Charm Pack Pillow is finished.
A Few Tips for Making Your Pillow
Don't overthink the fabric placement. This is a great project for a fun, random mix of fabrics. You don't need to spend forever trying to create the perfect arrangement.
Press as you go. Pressing the patchwork seams open and giving the pillow a good final pressing will help everything come together much more neatly.
Use a point turner. Those corners and seams will look so much better when you take the time to gently push them out.
Watch the video for the folding technique. The construction is what makes this pillow special, and seeing the process makes it much easier to understand.
Change up the charm pack! This pillow could look completely different depending on the fabrics you choose. Try holiday fabrics, florals, Halloween prints, Christmas prints, or even a collection of your favorite low-volume fabrics.
Make One With Me!
I love projects like this because they take a simple precut and turn it into something that looks much more complicated than it actually is.
If you make your own Charm Pack Pillow, I'd love to see it! And if you're joining me for The Stitch Show, bring your fabric and sew along with me during the live episode.
The Stitch Show airs Wednesdays at 7 PM CT on YouTube, where we'll tackle a new sewing project, share some sewing inspiration, and spend a little time together in the sewing room.
Watch The Stitch Show on YouTube: https://www.youtube.com/live/gYVFcYKbwEQ?si=mOWmN83GQyAjRLmV
Happy sewing!
Bethany
Craft with Bethany
